Friday, September 5, 2014

Two monkey bags for two monkey girls.


A couple of weeks ago, I saw a post on the crochet subreddit showing a finished bag for a little girl. The bag was a simple rectangle, and the applique was of a doll's face. Really cute!

My little girls being in this i-like-holding-bags-like-mommy-does phase, and loving putting things in and out of containers, I decided to try my hand at a bag.

First question: what applique do I want to make?
Answer: MONKEY! Indeed, the girls love monkeys. From the "5 little monkeys jumping on the bed", to the plush monkey toys they have, from themselves climbing everywhere like little monkeys, this was the answer which came naturally.

Second question: which colors?
Answer: Monkey. Jungle Theme! The Monkey will be brown so let's go green (representing trees) and yellow (representing bananas).

Third question: which shape?
Answer: Let's go for a simple rectangle bag for now, with one strap. First time I was going to attempt a purse, so I tried to keep it easy.

Fourth question: which stitch?
Answer: Puff stitch to give it some texture!

With all these answers, I was ready to go head first in this project.

How is it done


The purse is made out of 2 rectangles, a strap and an applique.

Back rectangle

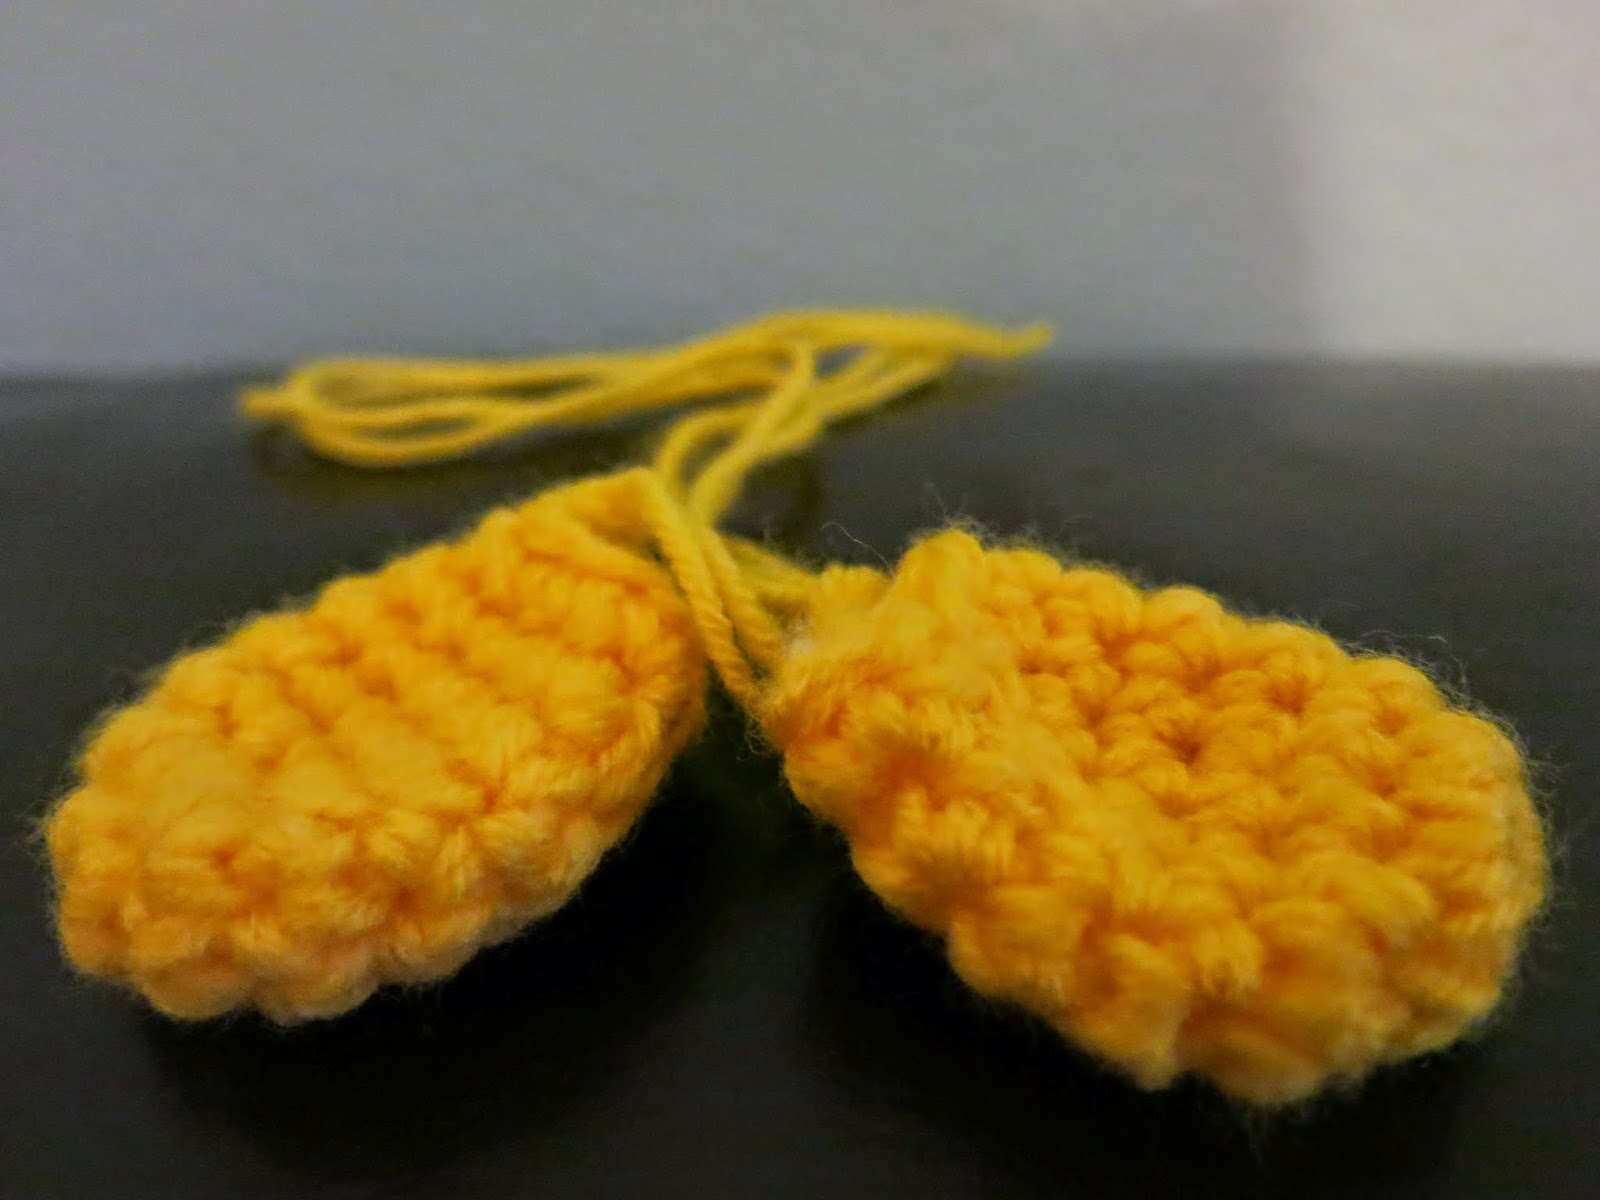
21 fsc (fundation single crochet), then alterning between rows of [1sc, 1puff, 1sc], and [1sc], with a turning chain 1 at the end of each row.

Front rectangle

It's the same as the back, except that some puff stitches are being removed and transformed as hdc to leave the space flat to sew the applique on.

Then I put the rectangles together, sc all around.

Strap

Chain 60, 3 times (2 of one color, 1 of the other color), then braid them. Attach on both side.

View of the inside.


This was a fun project, and easy to make. It allowed me to try my hand at the puff stitch, and for the next bags, I'll try another stitch to give another texture.

Thanks for reading and happy crocheting!

My cuties discovering their bags.

Thursday, August 14, 2014

Shy Guy (from Mario) - A failed story

Here is the little shy guy I made for my team (as a trophy for whoever wins a certain race), and I realized after it was done that it looked more like a cross between shy guy and no-face from Spirited Away...
I rushed it and didn't have time to make another one with the needed adjustments yet, but hopefully I'll get the time to fix the pattern later!

You can find the pattern below:


Requirements:
  • Crochet Hook C (2,75mm)
  • Tapestry Needle
  • Red, white, black, brown, purple (or blue), yellow fine yarn
  • Stuffing
I used purple for the shoes, since the bonbons of yarn I got didn’t have a dark blue.

Abbreviations / Terminology used:
  • ch: chain
  • st: stitch
  • sc: single crochet
  • dc: double crochet
  • ss: slip stitch
  • 2 sc in next st (increase)
  • 2 sctog: 2 single crochet together (decrease)

Arms (x2) – Red:
Round 1: 6 sc in magic ring (6)
Round 2: *1 sc, 2 sc in next st* repeat around (9)
Rounds 3-5: sc around (9)
Finish off leaving tail for sewing.

Face – White:
Round 1: 6 sc in magic ring (6)
Round 2: *2 sc in next st* repeat around (12)
Round 3: *1 sc, 2 sc in next st* repeat around (18)
Finish off leaving tail for sewing.

Eyes (x2) – Black:
6 sc in magic ring (6)
Finish off leaving tail for sewing.

Saw eyes on the face, and add the mouth with a little bit of yarn.


 Head/Body:
Start with Red
Round 1: 6 sc in magic ring (6)
Round 22 sc in first st, 5 sc around (7)
Round 3: 2 sc in first st, 6 sc around (8)
Rounds 4-14: sc around (8)
Round 15: *1 sc, 2 sc in next st* repeat around (12)
Round 16: *1 sc, 2 sc in next st* repeat (18)
Rounds 17-24: sc around (18)
Add the arms, and bend the top of the head to form the beanie fold, attach it with some yarn so it holds! Also attach the head. With Brown, make a chain to go around the head).
Change to Brown (for the belt)
Rounds 25-26: sc around (18)
Back to Red
Rounds 27-28: sc around (18)
Round 29: *1 dc, 2 dc in next st* repeat around (27 dc)
Embroider the belt buckle with Yellow.
Close and finish off.


Feet (x2):
Start with Brown
Round 1: 6 sc in magic ring (6)
Round 2: *2 sc in next st* repeat around (12)
Change to purple
Round 3: 6 sc, 2sctog in next 6 st (9)
Rounds 4-5: sc around (9)
First foot: finish off.
Second foot:
Round 6: join the feet together with sc around (16)

Attach the body to the feet and voilĂ !


Note for later:
I'll probably try to make one with a hood that can be removed. The head will then be a simple black ball, this way the mask can have holes for the eyes/mouth. I think it'll make it look better, instead of having those eyes poking out likes glasses :(

Tuesday, July 8, 2014

Long time ago...

Or actually not so long ago, it was about 2 years ago when I learned how to crochet.

I was looking through some pictures and realized that I never posted a few of my first plushies so here they are! The quality of the pictures is not great but hopefully you'll like some of those.

Yoda

Asked me to make one a friend of mine did. Like it she did, envious my mother was. Crocheted another one I had to.
I definitely see how I can improve this pattern now, he was one of my first free handed item.


Colorful Mohawk bear

This was a gift for the son of friends of mine. I did like how the colors went together, however if I had to redo it I'll probably modify the eyes.


Derpy penguin

A friend of mine asked me if I could make a penguin for his girlfriend. I do hope she liked his derpiness.

Other StarCraft attempts

After I made the banelings I was wondering if I could make other StarCraft related items. The probe and the overlord were my victims. I think they could be great as Christmas decorations, being all rounded and colorful!


I should maybe post the eternal WIPs (Work In Progress). So many things I want to do and so little time.

Happy crocheting my friends!

Friday, June 13, 2014

I'm a little Woodstock, short and stout...


My attempt at creating a scene... Next time I'll think about centering the subject :)


Today was the last day for sending out the gift for the Reddit Plushies exchange 2014.
When I signed up, I knew I wanted to crochet the gift and was hoping my match would have likes&dislikes that would allow me to make something neat.
"I like everything Peanuts". You do? Awesome, I can use my bright yellow yarn to make this little cutie that is Woodstock!

Each time I've seen Snoopy or Woodstock since I've started crocheting, I told myself I should make them. Now at least I have one of them done :) I'll probably readjust the pattern the next time, since I know there are things that can be improved. But overall for the amount of time I had, I'm happy with the result and I surely hope my reddit match will too.


Here is how I made him. I used 2 strands of yarn to make him bigger.

Requirements:

  • Crochet Hook I (5,50mm)
  • Tapestry Needle
  • Yellow yarn + a little bit of yarn
  • Stuffing

Abbreviations / Terminology used:

  • ch: chain
  • st: stitch
  • sc: single crochet
  • ss: slip stitch
  • 2 sc in next st (increase)
  • 2 sctog: 2 single crochet together (decrease)

 Head:
    Round 1: 6 sc in magic ring (6)
    Round 2: 2 sc in each st around (12)
    Round 3: *1 sc, 2 sc in next st* repeat around (18)
    Round 4: sc around (18)
    Round 5: *8 sc, 2 sc in next st* repeat (20)
    Round 6: sc around (20)
    Round 7: *9 sc, 2 sc in next st* repeat (22)
    Round 8: *10 sc, 2 sc in next st* repeat (24)
    Round 9: 18 sc, 2 sc in next 6 st (30)
    Round 10: *4 sc, 2 sc in next st* repeat around (36)
    Rounds 11-14: sc around (36)
    Round 15: *4 sc, sctog* repeat around (30)
    Round 16: *3 sc, sctog* repeat around (24)
    Round 17: *2 sc, sctog* repeat around (18)
    Round 18: *1 sc, sctog* repeat around (12) (add stuffing)
    Round 19: *sctog* repeat around (6) (finish stuffing the head if needed)
    Close and finish off. Add with the black yarn the eyes and mouth.

Body:
    Round 1: 6 sc in magic ring (6)
    Round 2: 2 sc in each st around (12)
    Round 3: *1 sc, 2 sc in next st* repeat around (18)
    Round 4: *2 sc, 2 sc in next st* repeat around (24)
    Rounds 5-9: sc around (24)
    Round 10: 16 sc, sctog next 8 st (20)
    Round 11: 12 sc, sctog next 8 st (16)
    Round 12: 8 sc, sctog next 8 st (12)
    Round 13: sc around (12)
    Finish off leaving tail for sewing, add stuffing.

Feet (x2):
    Round 1: 6 sc in magic ring (6)
    Rounds 2-6: sc around (6)
    Round 7: sctog around (3)
    Finish off leaving tail for sewing.

Arms (x2):
    Round 1: 6 sc in magic ring (6)
    Round 2: 2 sc in each st around (12)
    Rounds 3-5: sc around (12)
    Round 6: *4 sc, sctog* repeat (10)
    Round 7: *3 sc, sctog* repeat (8)
    Finish off leaving tail for sewing.
Hair
Long x2
ch8 – turn – sc in next 7 st – ch1 – turn – sc in next 7 st – ch1 – turn – join back and front with ss
Medium x2
ch6 – turn – sc in next 5 st – ch1 – turn – sc in next 5 st – ch1 – turn – join back and front with ss
Short x1
ch4 – turn – sc in next 3 st – ch1 – turn – sc in next 3 st – ch1 – turn – join back and front with ss


Assembly time

Saw the hair on the head: 2 long ones first, then the medium, then the short one at the very back.
Attach the arms to the body as well as the legs. Attach the head.

All done! Woodstock is now yours :)
I hope you've enjoyed this pattern, happy crocheting!


Wednesday, March 19, 2014

Tentacles back to their creators!

When I am asked which old games I used to play a lot, usually my answer contains the following:

  • Prince of Persia
  • Captain Comic
  • Monkey Island (1, 2 and 3)
  • Might And Magic
  • Eye of the Beholder
  • Civilization...*
As well as Day of the Tentacle. I loved this game and played it a lot. The characters, the plot, the fact you had to imagine the craziest ways of combining items to advance in the game, all of that brings nostalgia to me.

A year ago, my friend Nico told me one of his friends had seen a picture of a purple tentacle I crocheted and asked how much it would cost to make a pair for him. Then he told me that this friend was no one else but Ron Gilbert (one of the writer for the game himself), I was all excited and proud that someone who worked on the game liked these cuties enough to ask for a pair!

I then proceeded and created 2 pairs of purple and green tentacles, and Nico brought them to Ron, who gave the other pair to Gary Winnick, another person who worked on the game.


So here is a picture of Ron and Gary, holding them:


And here is a close up of the tentacles themselves, quality of the photo is meh... sorry about that:


* I stopped writting down names, but there are much more games I've played and loved. Just wasn't the topic of this article :)

Friday, November 15, 2013

How to start a granny rectangle - Ch'tite Geekette's way


Granny rectangle – using the foundation double crochet


After having made 3 granny square baby blankets for expectant friends, and having more friends expecting, I wanted to try with a rectangle.
Not knowing how to start it up, I quickly looked online but couldn't find anything I really liked (I don't like starting with a chain nor did I want to create 2 squares and assemble them), so I figured out I could come up with something on my own !

Here is what I did, someone probably already thought about it but I didn't have the time to search online for it at the time :)

Abbreviations / Terminology used:

  • st: stitch
  • ss: slip stitch
  • ch: chain
  • dc : double crochet
  • fdc : foundation double crochet
  • chfdc : chain foundation double crochet (cf. Special Stitch)

Special Stitch : Chain Foundation Double Crochet

This is a modified fdc to allow a gap in between 3fdc blocks, whereby we yarn over and pull through 1 loop twice before finishing the double crochet, to simulate a chain 1 in the chainless foundation !

Ch 1 – Yarn over – Insert hook into ch from previous fdc – Yarn Over – Pull through 1 loop – Yarn over – Pull through 1 loop – Finish the dc (Yarn over and pull through 2 loops twice).
Here a close up on the 2 pull throughs


First Round (in blue)


Ch 5
3 fdc


1 chfdc


2 fdc
1 chfdc

(If you want a longer rectangle, add as many 2 fdc + 1 chfdc as you want)


Second Round (in purple) – Proceed as you would for any granny square/rectangle


(First corner)
Ch 3


2 dc in same space


Ch 2
3 dc in same space


(Side)
Ch 1
3 dc in next ch1 space
Ch 1

(Second and third corners)
3 dc in next ch1 space
Ch 2
3 dc in same space
Ch 2
3 dc in same space

(On the other side)
Ch 1
3 dc in next ch1 space
Ch 1
3 dc in next ch1 space

(Close off to finish last corner)
Ch 2, ss on top of the ch 3 from the beginning of the round.


Third Round (in black)

Corners are clusters of 3dc ch 2 3dc, on the side 3dc ch 1 3dc.


And off you go!

It never eeeeeends!


Happy hooking folks :)

Wednesday, September 25, 2013

Quick and easy baby blanket

Lately it's been baby bloom in all its glory around me, and so many babies call for many crocheted presents!

I had never made any blanket till now, so I decided to finally make one. Even if it's nothing fancy and is an easy pattern, I wanted to post a picture of it. After all, since my two little girls are now taking all my time, I am extremely happy and proud to have finished something.
The end result is a huge granny square of 36"x36".

Also I still want to update this blog when I can, hopefully next time with a new amigurumi pattern (I'm thinking a soccer popple!).

Here is the blanket in progress.


And now with the baby girls modeling ;)


Note for those who would like to make it:
It took 4 balls of Loops&Thread Country Loom Baby in blue color + 1 ball of white.
The gauge is roughly 4 groups of 3 dc = 6 inches in width, and 1 inch in height.
The border being clusters of 2dc,ch2,2dc in each space around, 3 of these clusters in each corner.

Now time to make a couple more of those for some other friends :)