My reaction? Researching first who this was! I had never played this game thus had no idea what this Mr. Saturn looked like. Found images of him and thought: a big ball for the head, a smaller ball for the nose, 2 little feet... EASY!!!
Little did I know that the mustache and the one hair would delay its finishing by 6 months.
Yes, you read that right SIX months.
I couldn't find a way I liked for making them work and look nice.
Broom thread? No
Pipe cleaner? No
Piece of yarn? No
Oh wait, actually if I take a piece of yarn and make lots of knots, it might hold!
Took me long enough to think about it and decide to try!
Anyways, here is Mr Saturn.
Funny looking guy, with a red bow in his one hair, I like him :)

Here are the instructions should you want to give him a try:
Requirements:
- Crochet Hook G or H depending on your tension (4.25mm/5.00mm)
- Tapestry Needle
- Beige yarn and a little bit of Black and Red
- Stuffing
Abbreviations / Terminology used:
- st: stitch
- ch: chain
- ss: slip stitch
- sc: single crochet
- fsc: foundation single crochet
- 2 sc in 1 (increase)
- sctog: 2 single crochet together (decrease)
- (...), [...], *...*: what is between the parenthesis, brackets or asterisks will have to be repeated x amount of times.
Nose
Round 1: 6 sc in magic ring (6)
Round 2: 2 sc in each st around (12)
Round 3: *1 sc, 2 sc in 1* repeat around (18)
Round 4: *2 sc, 2 sc in 1* repeat around (24)
Rounds 5-7: sc around (24)
Round 8: *2 sc, sctog* repeat around (18)
Leave long tail for sewing.
Body
For the body, I started the top as a ball, then decreased a little faster than the increase to give a flatter surface on the bottom.
Round 1: 6 sc in magic ring (6)
Round 2: 2 sc in each st around (12)
Round 3: *1 sc, 2 sc in 1* repeat around (18)
Round 4: *2 sc, 2 sc in 1* repeat around (24)
Round 5: *3 sc, 2 sc in 1* repeat around (30)
Round 6: *4 sc, 2 sc in 1* repeat around (36)
Round 7: *5 sc, 2 sc in 1* repeat around (42)
Rounds 8-17: sc around (42)
Round 18: *4 sc, sctog* repeat around (35)
Round 19: *3 sc, sctog* repeat around (28)
Round 20: *2 sc, sctog* repeat around (21)
Round 21: *sc, sctog* repeat around (14)
Round 22: sctog around (7)
Close off.
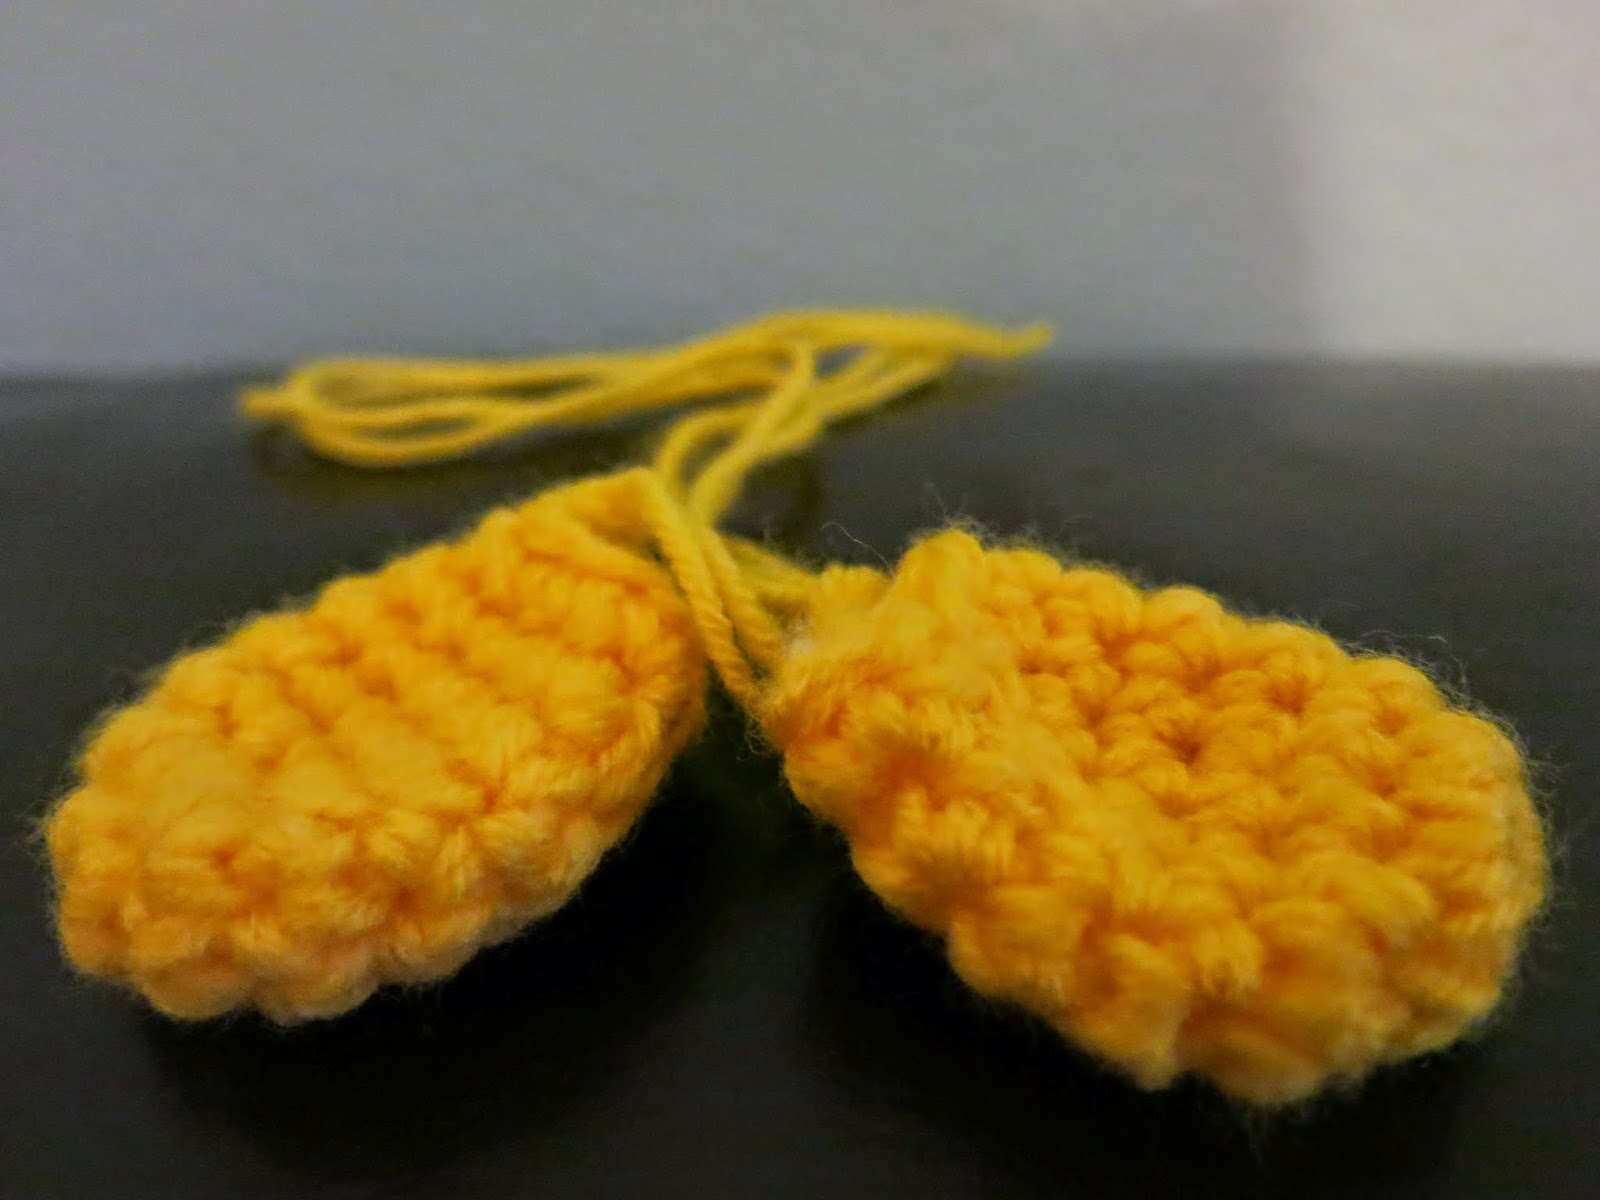
Feet (x2)
Round 1: 5 fsc, 4 sc in turn, 3 sc in the opposite side, 3 sc in first st (16)
Round 2: [2 sc in 1, 3 sc, (2 sc in 1, 1sc) x 2] x 2 (22)
join with ss on the first stitch of the round, ch1 (doesn't count as stitch, starts next row with the stitch from the ss)
Round 3: sc in blo around (22)
Round 4: 3 sc, 7 sctog, 5 sc (15)
Round 5: 2sc, 4 sctog, 5 sc (11)
Leave long tail for sewing.
Eyebrows (x2) in black yarn
3 fsc, leave tail for sewing.
The hair is done by taking a 30 cm / 12 inches or so of black yarn, passing it through one stitch at the top of the head, folding it in half then knotting the 2 ends together.
Same for the mustache but with 4 shorter pieces of yarn.
Let me know if you have any question!